User Guide of Folder Preview Pro
Installation
-
Download Folder Preview Pro.
-
Unzip the file and move the app to /Applications folder.
-
Open the app.
Enable Extensions
On macOS 26 or later
-
Open “System Settings → General → Login Items & Extensions”.
-
Scroll down to the “Extensions” section and click the info button in “Folder Preview Pro”.
-
Select “Folder Preview Pro” extension.
-
Select “Archive Preview Pro” if you want to preview archive files like .zip, .7z, and .rar.
On macOS 15 or before
-
Open “System Settings → General → Login Items & Extensions”.
-
Scroll down to the “Extensions” section and click the info button in “Quick Look”.
-
Select “Folder Preview Pro” extension.
-
Select “Archive Preview Pro” if you want to preview archive files like .zip, .7z, and .rar.
License
You can try out all the features without a license key. However, folder content will be obscured.
You can purchase a license key to get unrestricted access to the app.
Manage License
You can activate or deactivate license key in the app. To do that, open the app and go to the “License” pane.
Usage
-
Open Finder or any third-party file management app.
-
Select folder and press ⌘ Y or spacebar to preview.
Actions
There are 7 actions in total. They are:
-
Open Folder
-
Open
-
Open With
-
Copy
-
Get Info
-
Show in Finder
-
Move to Trash
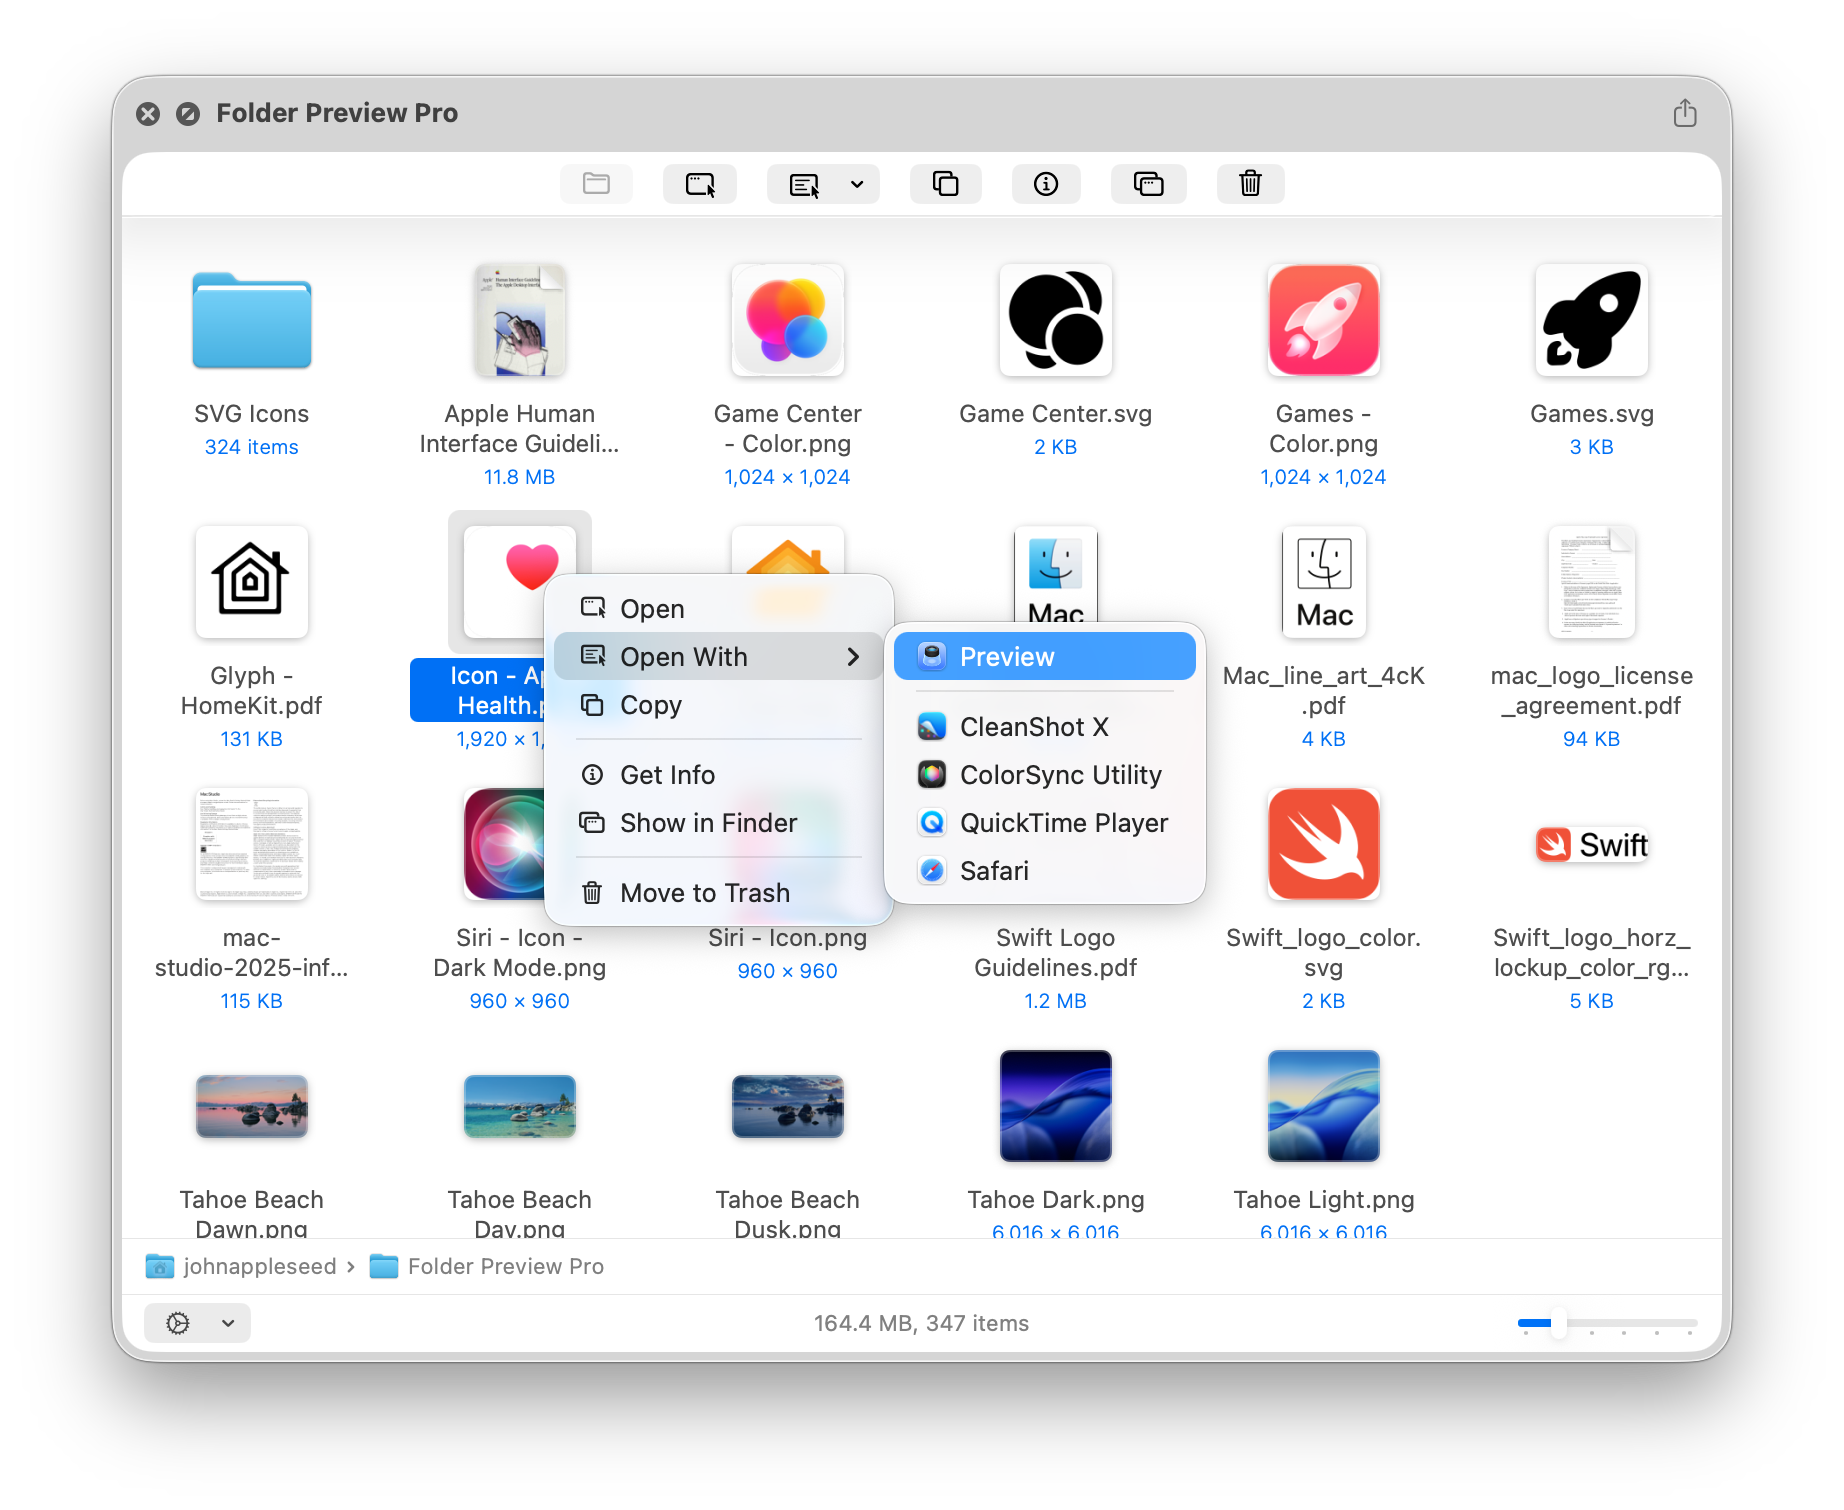
Interactions

Toolbar
Toolbar is at the top of the Quick Look window. By default, all toolbar items are disabled until some files or folders are selected.
You can also right-click the toolbar to hide some toolbar items.
Icons View
Icons view displays files in much bigger thumbnails.
You can right-click some file to reveal the action menu. This functionality is the same as the toolbar.
Due to macOS limitation, the extension responds to the right-click action quicker than the click action. Therefore we suggest you to interact with the right-click menu rather than the toolbar.
Path Bar
You can navigate to parent folders with Path Bar if you grant the app “Full Disk Access” in System Settings.
Settings
You can change the settings in the app or in the Quick Look window. They are generally the same, except the “View as List / Icons” setting.
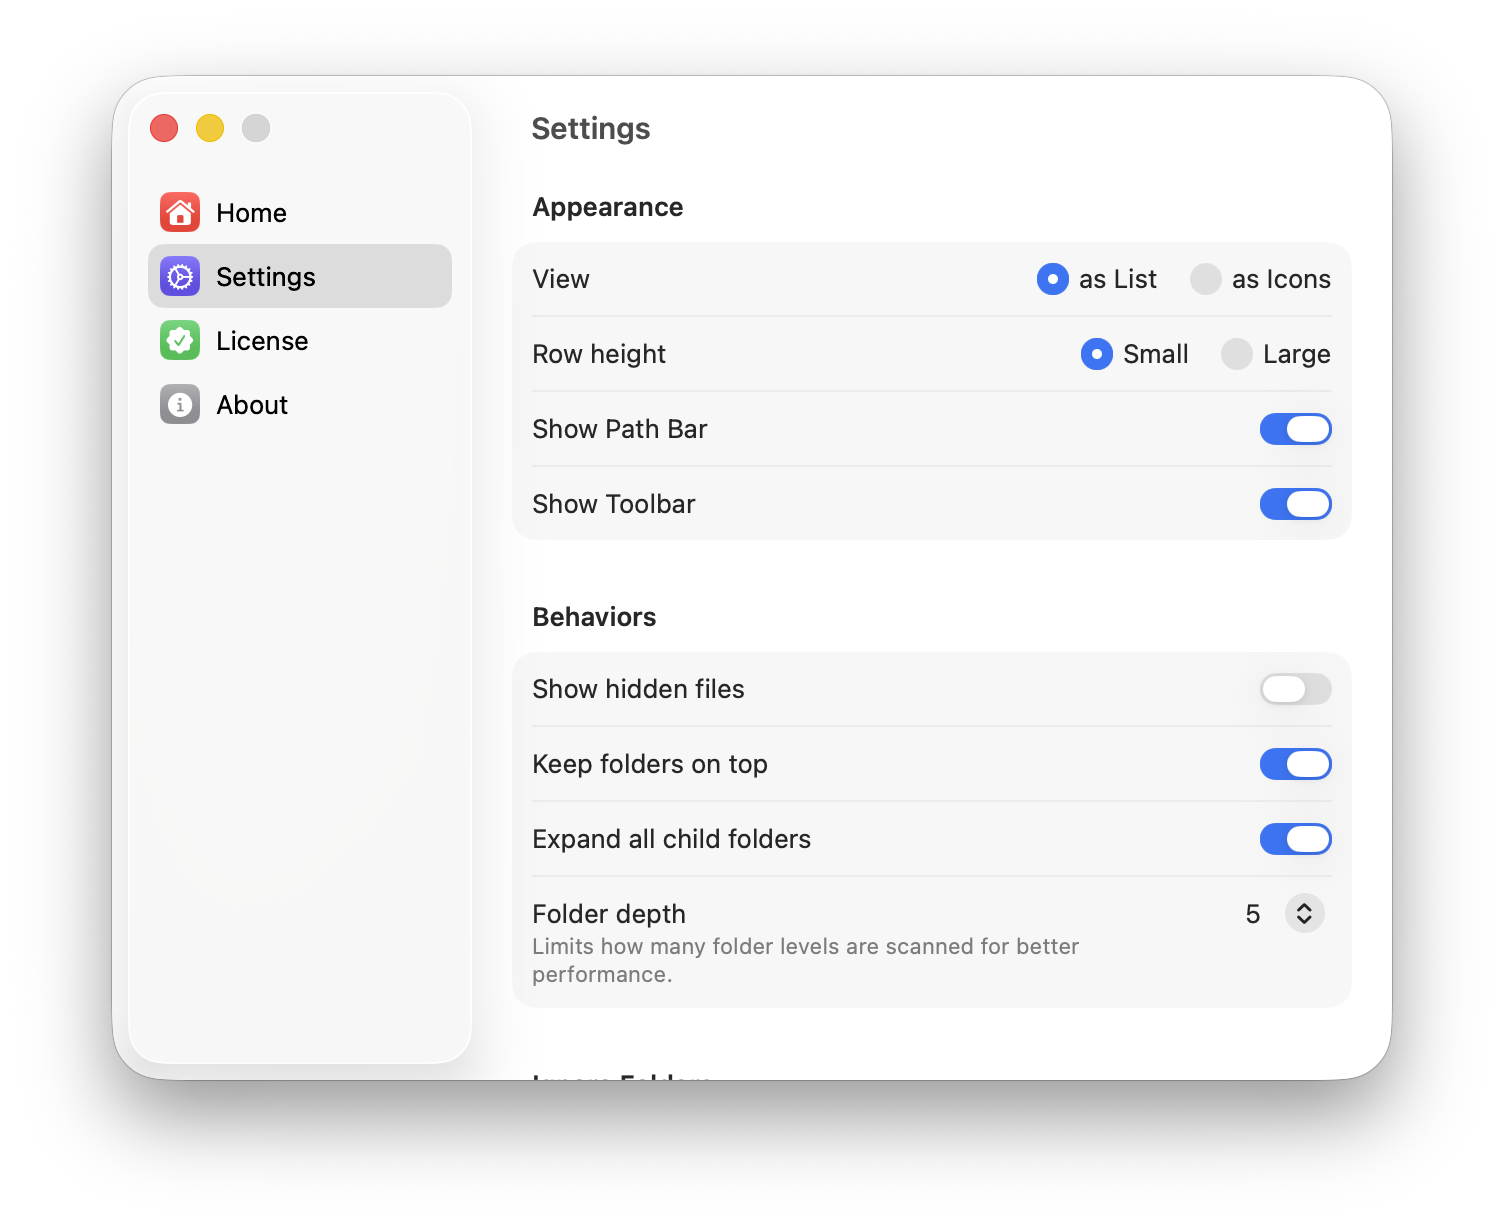
View as List / Icons
When you change this setting in the app, you change the default view.
When you change this setting in the Quick Look window, you change the view for this specfic folder. All other folders will still be displayed in the default view.